Unity 강의 3일차 (3) - 피자 날리기 게임 3
본 강의는 다음 문서를 참고하여 제작하였습니다. 자세한 내용은 하단 링크를 참조하시거나 댓글로 질문 남겨주시면 성심성의껏 답변 드리겠습니다.
2.3강 - 무작위 동물 생성 - Unity Learn
개요: 동물 프리팹은 화면을 가로질러 걸어오고 경계를 벗어나면 제거되지만, 씬에 드래그하기 전에는 게임에 나타나지 않습니다. 이 수업에서는 동물이 화면 상단의 무작위 위치에서 저절로
learn.unity.com
게임 오브젝트의 직접적인 컨트롤을 담당하는 스크립트는 Controller를 붙인다고 설명하였습니다.
이번엔 그런 오브젝트를 관리하는 스크립트인 Manager를 만들어 보도록 하겠습니다.
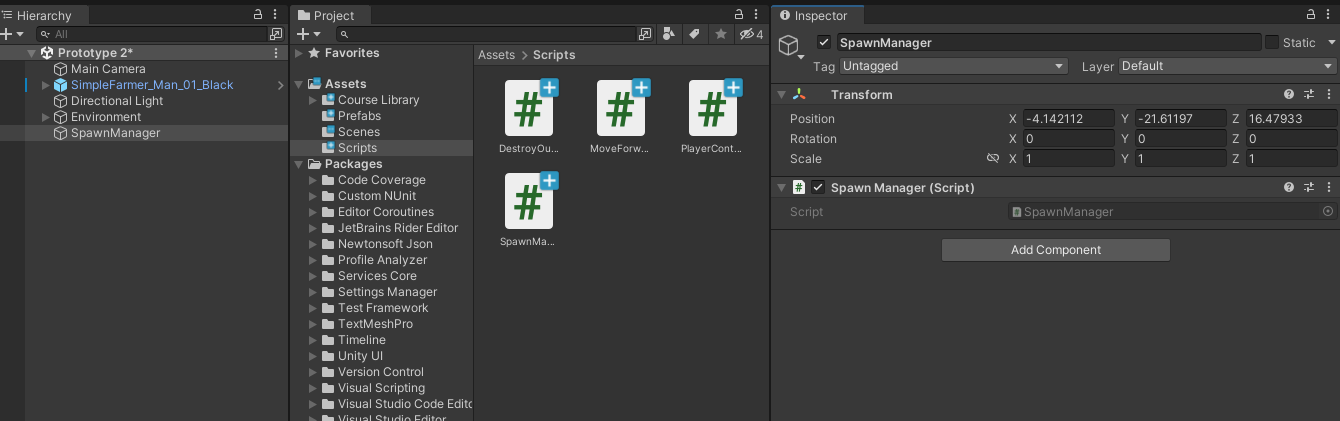
Scripts 폴더에 SpawnManager를 생성합니다.

Manager를 생성해도 결국에 이는 컴포넌트에 불과합니다. 컴포넌트로써 상호작용 해줄 게임 오브젝트를 씬에 만들어야 합니다. 빈 오브젝트를 생성하고 이름을 SpawnManager로 생성한 뒤, SpawnManager 컴포넌트를 부착해줍니다.
SpawnManager 스크립트를 다음과 같이 수정합니다.
using System.Collections;
using System.Collections.Generic;
using UnityEngine;

public class SpawnManager : MonoBehaviour
{
    public GameObject[] animalPrifabs;

    // Start is called before the first frame update
    void Start()
    {

    }

    // Update is called once per frame
    void Update()
    {

    }
}
GameObject 배열 animalPrifabs를 선언하였습니다. 이렇게 되면 Unity Editor에서 어떻게 보일지 확인해봅시다.
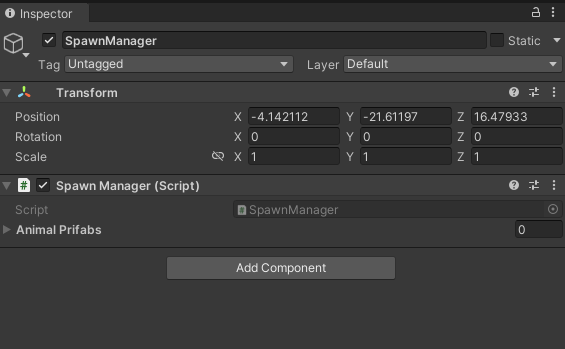
드롭다운 형식으로 프로퍼티가 생성된 것이 보입니다.
Animal Prifabs를 눌러 리스트 목록을 열어봅시다.

+를 눌러 배열에 추가할 수 있습니다. +를 하여 각 동물 프리팹들을 추가해줍니다.

각 프리팹이 할당되었습니다. 이제 SpawnManager 스크립트에서 프리팹을 활용을 할 수 있게 되었습니다.
S 버튼을 누르면 동물이 생성되도록 SpawnManager를 작성해보겠습니다. S 키를 눌렀을 때 게임 오브젝트를 생성하는 함수와 첫번째 인자는 어떤 것을 넣어야 할 지를 상상해보면서 코딩하면 좋을 것 같습니다.
using System.Collections;
using System.Collections.Generic;
using UnityEngine;

public class SpawnManager : MonoBehaviour
{
    public GameObject[] animalPrifabs;

    // Start is called before the first frame update
    void Start()
    {

    }

    // Update is called once per frame
    void Update()
    {
        if (Input.GetKeyDown(KeyCode.S))
        {
            int animalIndex = Random.Range(0, animalPrifabs.Length);
            Instantiate(animalPrifabs[animalIndex], new Vector3 (0, 0, 20), animalPrifabs[animalIndex].transform.rotation);
        }
    }
}
animalIndex는 동물 번호를 의미합니다. 0부터 animalPrifabs의 길이, 즉 2까지 랜덤한 값이 animalIndex에 들어가도록 Random.Range를 사용합니다.
그 후 Instantiate 함수를 이용해 랜덤한 동물 배열의 동물을 생성합니다.
여기서 다른 문제가 생겼네요. 동물이 계속 같은 위치에서 생성이 된다는 것 입니다.
저희는 랜덤이라는 개념을 배웠네요. 이를 이용해 X 좌표를 랜덤으로 바꿔봅시다.
using System.Collections;
using System.Collections.Generic;
using UnityEngine;

public class SpawnManager : MonoBehaviour
{
    public GameObject[] animalPrifabs;

    // Start is called before the first frame update
    void Start()
    {

    }

    // Update is called once per frame
    void Update()
    {
        if (Input.GetKeyDown(KeyCode.S))
        {
            int animalIndex = Random.Range(0, animalPrifabs.Length);
            int xPos = Random.Range(-20, 20);
            Instantiate(animalPrifabs[animalIndex], new Vector3 (xPos, 0, 20), animalPrifabs[animalIndex].transform.rotation);
        }
    }
}
이제 랜덤한 위치에서 동물이 우수수 나오는 것을 확인할 수 있습니다.
게임의 제일 중요한 요소라고도 할 수 있는 랜덤성! 여기서 등장했네요.
다음 충돌 판정까지 해낸다면 3일차 일정은 끝입니다.
다들 고생하셨습니다!